

Would you like to eliminate time-consuming functions and pay attention to other significant operations? That is when Zapier steps in.
What is Zapier and how does it work? Zapier is an automation tool that connects different applications to streamline workflows without needing coding skills. It uses “Zaps,” automated workflows with triggers and actions. When a trigger event occurs, Zapier performs the associated actions in other apps, thus automating tasks and enhancing workflow efficiency.
Let me welcome you to this blog post where I’ll explain what Zapier is, how it works, and how you can begin with this revolutionary tool.
If you want to read the latest tech-related, must visit fixthetech.com.
What is Zapier?
Zapier is an efficient cloud-based solution for automating various web tasks and integrating different web applications. It automates tiresome tasks and web app connections with no coding skills required. In this case, it works as a middleware that connects several applications.
For instance, if you are operating an online business, then you will have to deal with several small business websites regularly. If you receive new orders, you can automate the process of updating inventory in a Google Sheet and alerting your team via Slack.
In Zapier, it is possible to set up a Zap that will be activated whenever a new order has been made and then the Zap should perform actions like altering the inventory spreadsheet and sending Slack messages.
This means that you do not have to enter any data on your own at any one time. It guarantees your inventory transfer data is always current while availing the same to your team in real-time.
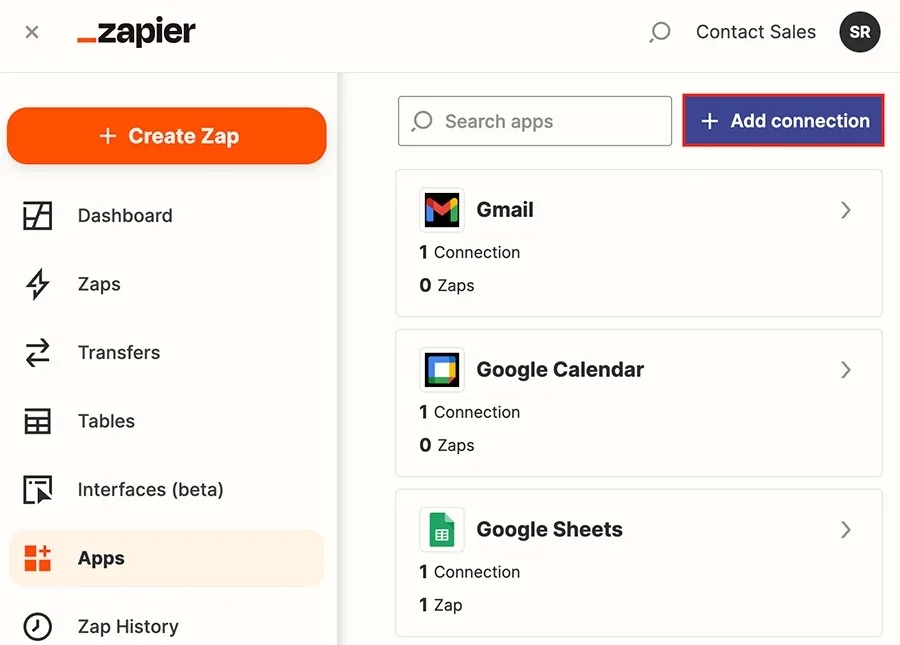
Main Components of Zapier:
Zapier operates using two main building blocks: triggers and actions. Creating a Zap requires defining both the trigger and the action to take place. Let’s delve into them in detail!
Triggers:
In automation, triggers are the initiating factors of an automation sequence. When an event occurs in one application, Zapier recognizes this event and performs actions related to it in other connected applications. For example, triggers could be a new email arrival, a new form submission, or an entry in an Excel sheet. When a trigger event occurs, Zapier identifies it and starts the automation process. Triggers depend on the application used and are essential for initiating Zaps. Different app options are available with trigger events you can select when setting up a Zap.
There are two main categories of triggers in Zapier:
- Polling triggers
- Instant triggers
Actions:
Actions are the steps an app takes in response to a trigger event. Once a task is initiated, actions complete the task automatically. Actions can include:
- Creating a new entry in a selected cell within a specific row or column
- Sending a message or notification
- Updating a record Performing any other function supported by the connected apps
Zaps:
Zap is one of the terms that are used in Zapier to refer to automated workflows. A Zap is the combination of a trigger and one or several actions performed when the associated trigger event occurs.
While a Zap is running it checks the trigger constantly and then processes the linked action each time the trigger is observed.
For example, imagine that you have an Internet site promoting lead generation services. For example, you need all new leads from a Google Form response to be directly transferred to an email marketing platform, for instance, Mailchimp.
Here’s how the trigger and action would work in Zapier:
Trigger:
An example of an actual text is a title which can be ‘New Form Response in Google Forms’.
>Whenever a new lead fills out the Google Form
Action:
The final action is “add Subscriber to Mailchimp”.
Integrated option: Configure/update email list settings in Mailchimp to automatically add leads to your email list.
When a Google Form is filled (trigger), Zapier will create that person as a subscriber in your Mailchimp email list.
They also make the work easier when it comes to populating the leads collected through the form so that e-mail marketing campaigns as well as customer relations may be effectively conducted.
Therefore, it is easy to argue that, Zap = Action + Trigger.
How Does Zapier Work?
The process involves several steps. Therefore, we shall explain all of them to you so that you grasp the understanding of each.
Step 1: Create Your Zapier Account
First of all, you have to go to zapier.com and sign up for a free account.
To sign up for an account, follow these steps:
- To carry out this integration, follow these steps; The first step is to move to the Zapier homepage.
- Then, go to the “Get Started Free” or the “Sign Up” button.
- Register a new account here or use your Google, Facebook, or Microsoft account to log in. Or else, you can register with your workplace email address.
- Carry on with the procedure as mentioned on the screen of the application. Select the apps you want to use and click on the Finish Setup button of the relevant program.
- Then you will be taken to the Zapier website where you will be able to access the dashboard. After that, it’s possible to begin building the first zap there.
Step 2: Setup your Zap:
To create a Zap in your Zapier account, follow these steps:
- Log in to your Zapier account.
- Click on the “+Create Zap” in the upper right corner.
- You will be redirected to the Zap editor. To begin with, you should the name to Zap. Then, click on the Edit Icon that shows “Untitled Zip” and replace it with your desired Zap name.
You are done here. Next, the “Trigger” will be set up.
Step 3: Set up “Trigger”
Next, you’ll install the “Trigger” app which will be used to perform the action part of the automation. This is the app that will start the automation process
- Enter the desired app name for the App & Event search box that has to act as a trigger for the chosen app. Then select it from the list above
- Select the desired specific trigger event from the drop-down list of the available options and press “Continue. ”
- Click “Sign in to [App Name].” Zapier will ask you to permit it to access the trigger app. It will take your form after you fill in the details. Click on continue when you are through.
- Test the trigger by clicking “Test trigger.
- Once the test is successful, click on the button labeled “Continue”. When using a connected app, Zapier will fetch data for the trigger to make sure that it is functioning properly.
Step 4: Customize your “Action App”
Next up, you will set up the “Action” app. This is the app that will execute an action on a trigger activated by the previous app.
- In the “App & Event” search bar, type the name of the app of your choice you want to use as the action and click on it. For example, Mailchimp.
- Select the action event from the list of options available and press “Continue.”
- Go to the connect page of the action app, and make sure to click on ‘Sign in to [App Name].’ Zapier will then assure you that it is okay to grant access to that particular account. If you are connected to the targeted app already, you will see it in a listing. Then look for it from there, in the list.
- Set up the action by configuring any required fields. This app contains trigger data that one can access by clicking on the field and then selecting the data from the list of options provided. , click on “Continue”.
- After filling in the action data, click on “Test & Continue” to test the action. It lets Zapier perform the action using the data provided in the test of the trigger. Verify that action is successful in the connected app for the next time use.
Once the test is successful, You will see that your first version of the Zap is already active and ready for you.
Your Zap is now set live and will operate in the background as soon as the triggering event is activated. However, if you want to tweak something or stop the Zap you can always go back to the Zap editor.

